Tech Support for VeCOAX Blade multi channel hdmi rf modulators qam atsc isdbt dvbt dvbc for hdmi over coaxial tv channels distribution extenders
VeCOAX MINIMOD 2+ Firmware Upgrade

Upgrade channel by channel to the newest version
VeCOAX BLADE Instruction Manual
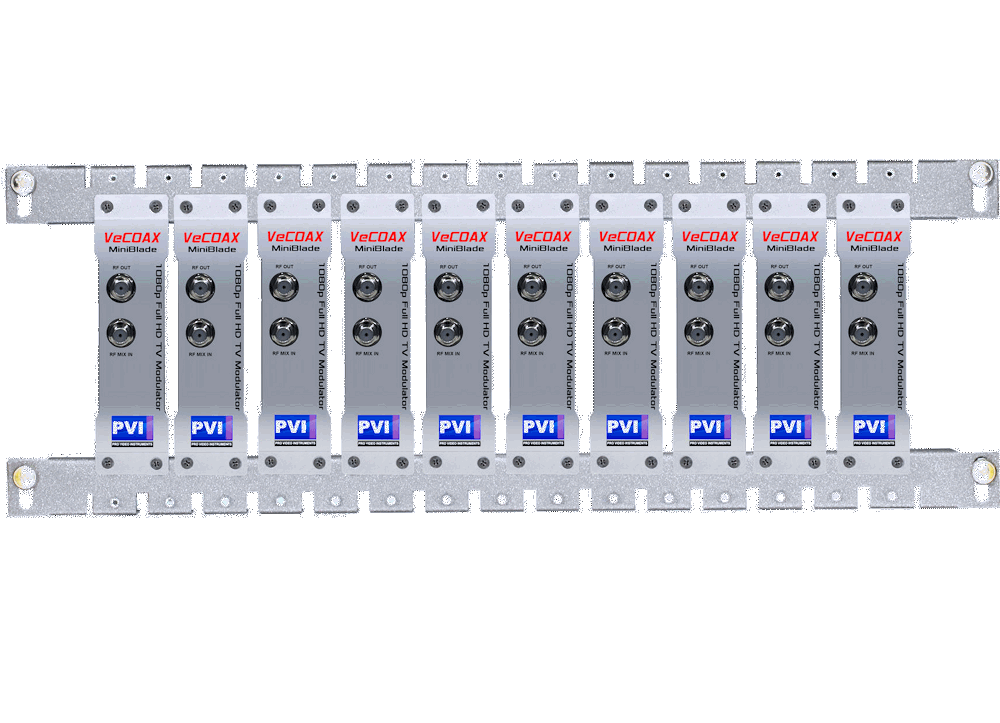
Install the Face Plates on your Minimods 2+
- Use the 4 push-coil inner screws on each mini blade panel to screw the panel on the RF CONNECTORS SIDE of your MINIMOD 2+.
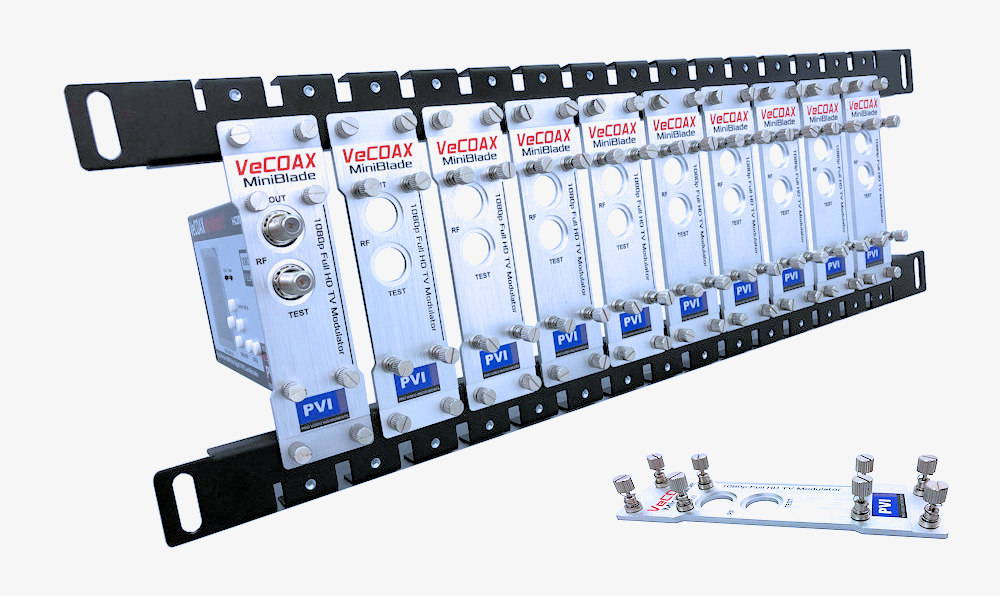
- Screw ONE MINIMOD 2+ on the rack bars as on the above picture in order to make the RACK BARS SPACING MEASURE.
- Install the Rack Bars on your Rack System
- SETUP EACH MINIMOD 2+ one by one to its own DIFFERENT CHANNEL as per the MULTIPLE UNITS QUICK INSTALLATION here below
- IF you want to control the MINIMOD 2+ via computer, remember to set a different IP address on each unit you will point at with the web browser later to Remote Access your system
- After all MINIMOD 2+ are set, install them on the rack bars as needed, then connect the HDMI Inputs
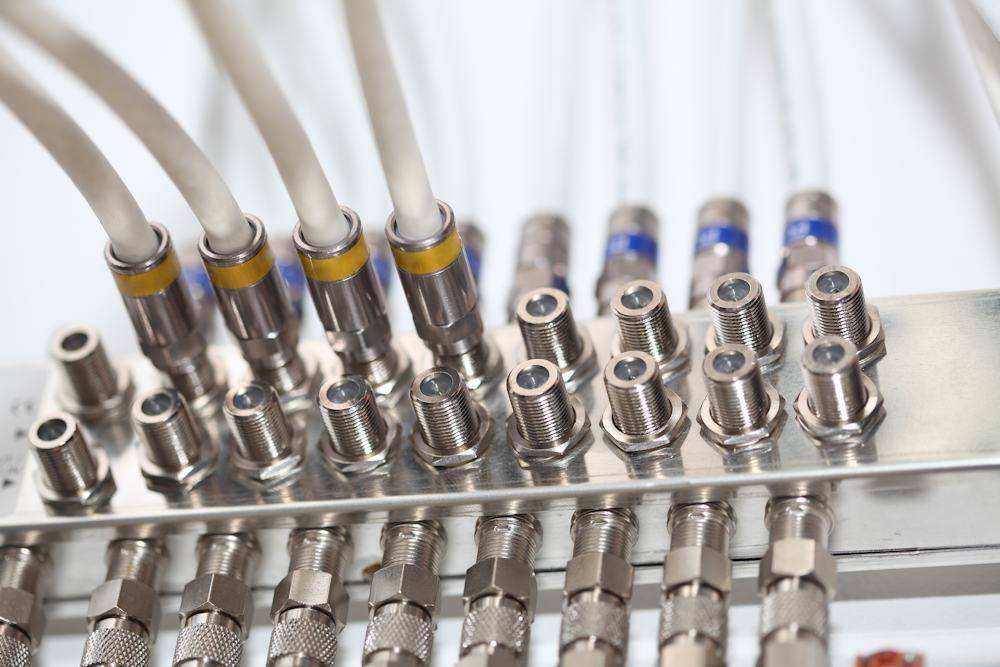
- To combine the RF OUTPUTs we suggest to use a PASSIVE COAXIAL SPLITTER similar to this one

Multiple Units Quick Installation
IF you are merging the minimods 2+
with other coaxial TV channels,
FIRST find out a FREE CHANNELs
not used on your TV channel list
so channels will not jam each other.
Look on your TV channel list
for an UNUSED channel numbers.
(A) Prepare your Minimods 2+ ON Different Channels
When combining multiple MINIMOD 2+ units on the same coaxial cable, each unit must be set to a different channel to prevent interference.
(B) Install Your Minimods 2+ one by one
1) This step is critical for a successful setup
First, connect the MINIMOD 2+ directly to a TV using a short piece of coaxial cable
2) You do not need to connect any HDMI input at this stage
3) Check on the Minimod Display it shows the CORRECT Channel Name & Numbers you want.
How to set channel frequencies →
4) Rescan your TV's digital channel list to locate the MINIMOD 2+ Channel on your TV.
You should see a color-bars test pattern like the one below:
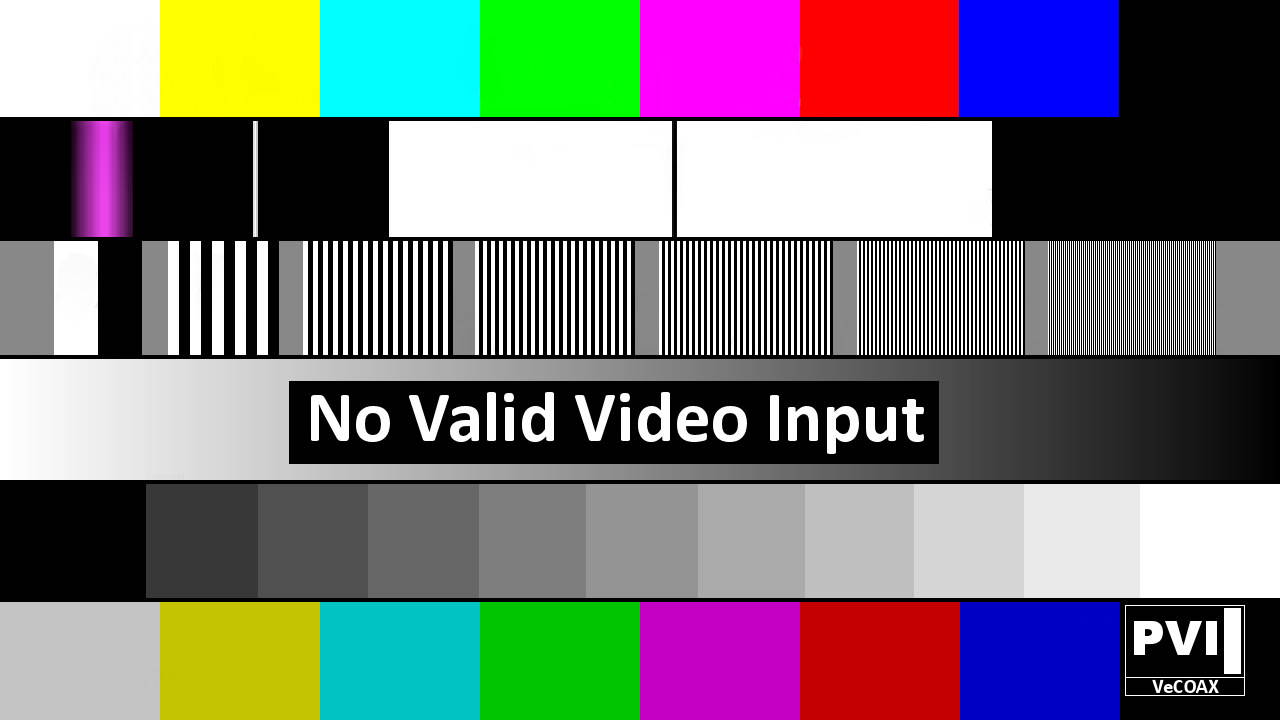
5) If the color-bars test pattern appears on your TV, the MINIMOD 2+ channel has been detected and is operating correctly.
Troubleshoot: channel not found →
6) Disconnect the MINIMOD 2+ from the TV.
Troubleshoot: channel not found →
6) Disconnect the MINIMOD 2+ from the TV.
7) Reconnect the TV to its regular coaxial cable.
8) Move the MINIMOD 2+ to the first coaxial junction-box splitter near the TV.
Connect the MINIMOD 2+ to the splitter so its MINIMOD 2+ channel signal reaches all TVs through the splitter.
See the diagram below:
8) Move the MINIMOD 2+ to the first coaxial junction-box splitter near the TV.
Connect the MINIMOD 2+ to the splitter so its MINIMOD 2+ channel signal reaches all TVs through the splitter.
See the diagram below:
9) Power on the MINIMOD 2+ while it is connected to the coaxial splitter.
10) Verify that you can still see the MINIMOD 2+ color-bars test signal.
- If yes — rescan all other TVs to find the MINIMOD 2+ channel, following the same procedure used on the first TV.
- If yes — rescan all other TVs to find the MINIMOD 2+ channel, following the same procedure used on the first TV.
- if no, Troubleshoot coaxial splitters →
11) Disconnect the MINIMOD 2+ from this splitter and connect to the next splitter. Repeat the test from Step #8
11) Disconnect the MINIMOD 2+ from this splitter and connect to the next splitter. Repeat the test from Step #8
12) Connect the MINIMOD 2+ to the main coaxial splitter that feeds all TVs, then repeat Step #10
14) Connect your HDMI source to the MINIMOD 2+ HDMI input. You should now see your HDMI source as a channel on all connected TVs.
Troubleshoot HDMI sources →
Troubleshoot HDMI sources →
15) Leave this MINIMOD 2+ connected and proceed to the next unit.
Repeat from Step 1 for each unit. Installing one at a time makes troubleshooting easier.
Repeat from Step 1 for each unit. Installing one at a time makes troubleshooting easier.
16) Once all units are connected, every TV will be able to tune to any of the MINIMOD 2+ channels.
MINIMOD 2 / 2+ Instruction Manuals
Configure the MINIMOD 2+ channels
(new 2023 model)
Configure the MINIMOD 2 channels
(previous generation)
Additional Documentation
No additional documentation available at this time.
Need Additional Help?
We typically respond within 24 hours on business days.
Need more help? Our US-based engineers are here for you.
We typically respond within 24 hours on business days.
Call +1 407 720 6101
Contact Support